Workflow LibraryLevels, Walls & Floors
Draw Your First Walls and Floor in 15 Minutes
A closed rectangular building shell — four walls and a floor slab — modeled from an empty project.
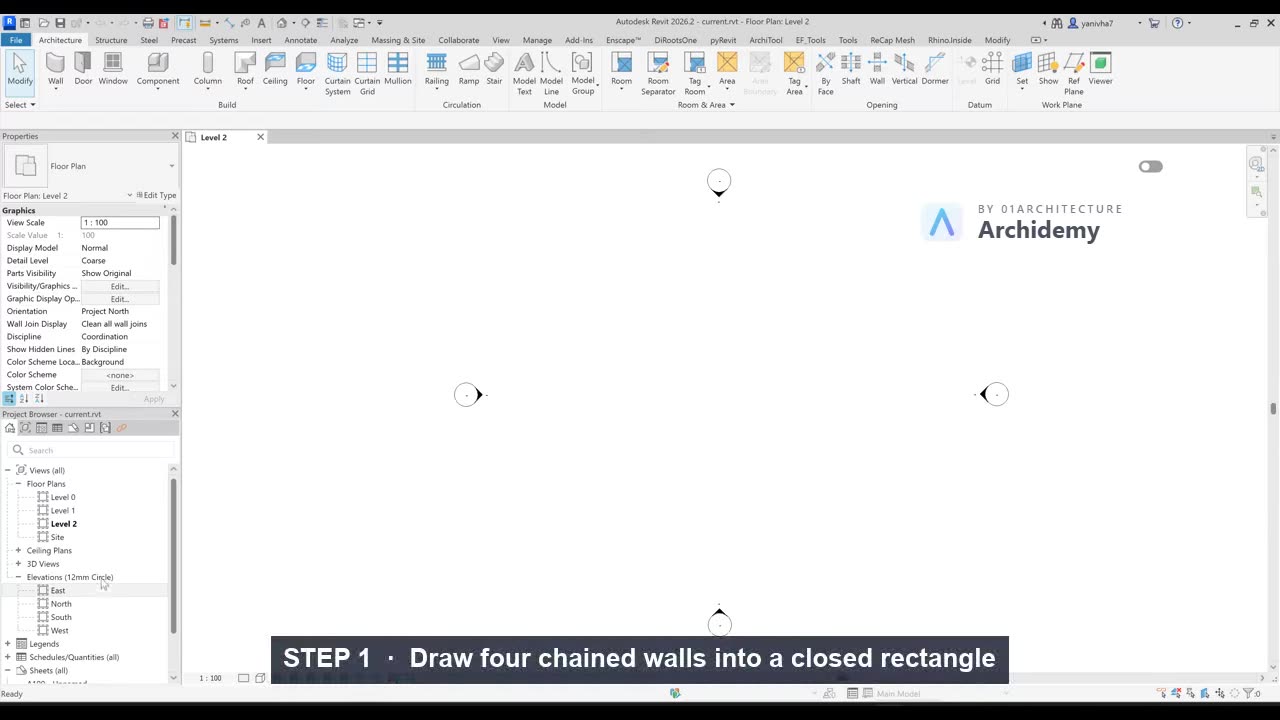
The recorded clip is for signed-in members. The written steps are below.
Sign in to watch- Open a new project with the Architectural Template (File → New → Project, check the units say mm).
- In the Project Browser, double-click Floor Plans → Level 1 to make sure you are drawing on the ground floor.
- Start the Wall tool: type WA on the keyboard (or Architecture → Wall).
- Before clicking anywhere, check the settings:
- In the Type Selector (top of the Properties palette), pick a generic type such as Basic Wall: Generic - 200mm.
- In the Options Bar, set Height to Level 2 and make sure Chain is checked — Chain means each wall starts where the last one ended.
- Draw a simple rectangle of walls:
- Click once to start the first wall, move the mouse to the right, type
8000and press Enter — that is an 8 m wall. - Move the mouse up, type
5000, press Enter. - Move left, type
8000, press Enter. - Move down and click on the very first point to close the loop — Revit snaps to the endpoint.
- Click once to start the first wall, move the mouse to the right, type
- Press Esc twice to finish the Wall tool.
- Add the floor:
- Go to Architecture → Floor → Floor: Architectural.
- In the ribbon, keep the default Boundary Line → Pick Walls mode.
- Click each of the four walls once — a magenta sketch line appears on each.
- Click the green ✓ Finish Edit Mode check mark. If Revit asks "Would you like walls that go up to this floor's level to attach to its bottom?", click No for now.
- Type ZE (Zoom to Fit) and admire the plan — then click the small house icon (Default 3D View) in the Quick Access Toolbar to see your building in 3D.
- Save the file (Ctrl+S).
Note: The floor sketch must be one closed loop with no gaps or overlaps — that is why Pick Walls is safer than drawing lines by hand, and it also keeps the floor updating automatically when you later move a wall.
Taught in
- New for 2026 — first taught in BIM + Computational Workflow 2026.
Was this lesson helpful?