Workflow LibrarySheets, Annotation & Publishing
Lay Out Your First Sheet with a Plan and Section
A printable sheet carrying your plan and section at 1:100, with clean view names and a filled-in title block.
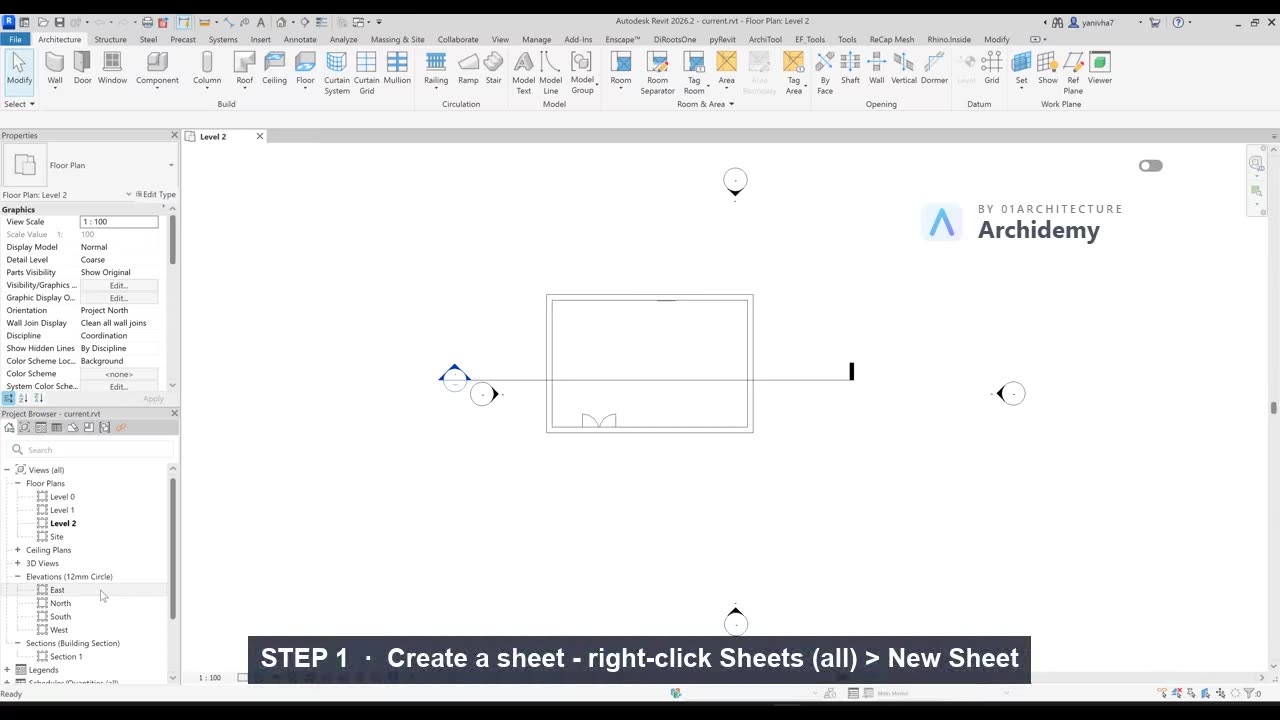
The recorded clip is for signed-in members. The written steps are below.
Sign in to watch- Set the scale before placing anything:
- Open Floor Plans → Level 1 and set the scale in the View Control Bar (bottom-left of the view window) to 1:100.
- Open your section view and set it to 1:100 as well — views land on the sheet at whatever scale they carry.
- Rename the views so the sheet labels itself properly:
- In the Project Browser, right-click the section view → Rename → call it something like
Section A-A. - Rename the plan to
Ground Floor Planif you like — renaming a view is safe and updates its title everywhere.
- In the Project Browser, right-click the section view → Rename → call it something like
- Create the sheet:
- In the Project Browser, right-click Sheets (all) → New Sheet.
- In the dialog, pick a metric title block — templates usually ship one (e.g. A1 Metric; pick A3 if available or your brief asks for it). If the list is empty, click Load and get one from the library (Titleblocks folder), then click OK.
- Place the views:
- Drag Level 1 from the Project Browser onto the sheet — a ghost outline follows the cursor; click to place it on the left half.
- Drag the section view on and place it on the right half.
- If a view is too big for the sheet, its scale is wrong — go back to the view and change it in the View Control Bar; the viewport resizes automatically.
- Tidy the viewports:
- Drag the view title (the labeled line under each view) so titles align.
- Select a viewport and use Modify → Move if placement needs adjusting.
- Fill in the title block:
- Click directly on the title block text (e.g. Project Name, Drawn By) and type your values.
- Set the Sheet Number (e.g.
A101) and Sheet Name (e.g.Plans and Sections) — either on the sheet or in the sheet's Properties.
- Notice the section head in the plan now reads the real sheet number — Revit cross-references sheets for you.
- Preview the result with File → Print → Print Preview (choose the sheet, paper size A3).
Note: A view can only sit on ONE sheet — if you need the same plan on a second sheet, right-click the view → Duplicate View. This rule is what keeps every section marker and callout reference on your drawings automatically correct.
Taught in
- New for 2026 — first taught in BIM + Computational Workflow 2026.
Was this lesson helpful?
Fix Missing Ground/Context in Plans Using View Type and View Range
Recover missing ground and context in plans via view type and range.
Annotate a Plan with Dimensions, Text, and Tags
A ground-floor plan carrying a dimension string, a text note, and door/window tags that read data straight from the model.