Workflow LibrarySetup & Coordinates
Test Walls and Dimensions (Temporary vs Permanent)
Draw test walls and control them with temporary vs permanent dimensions.
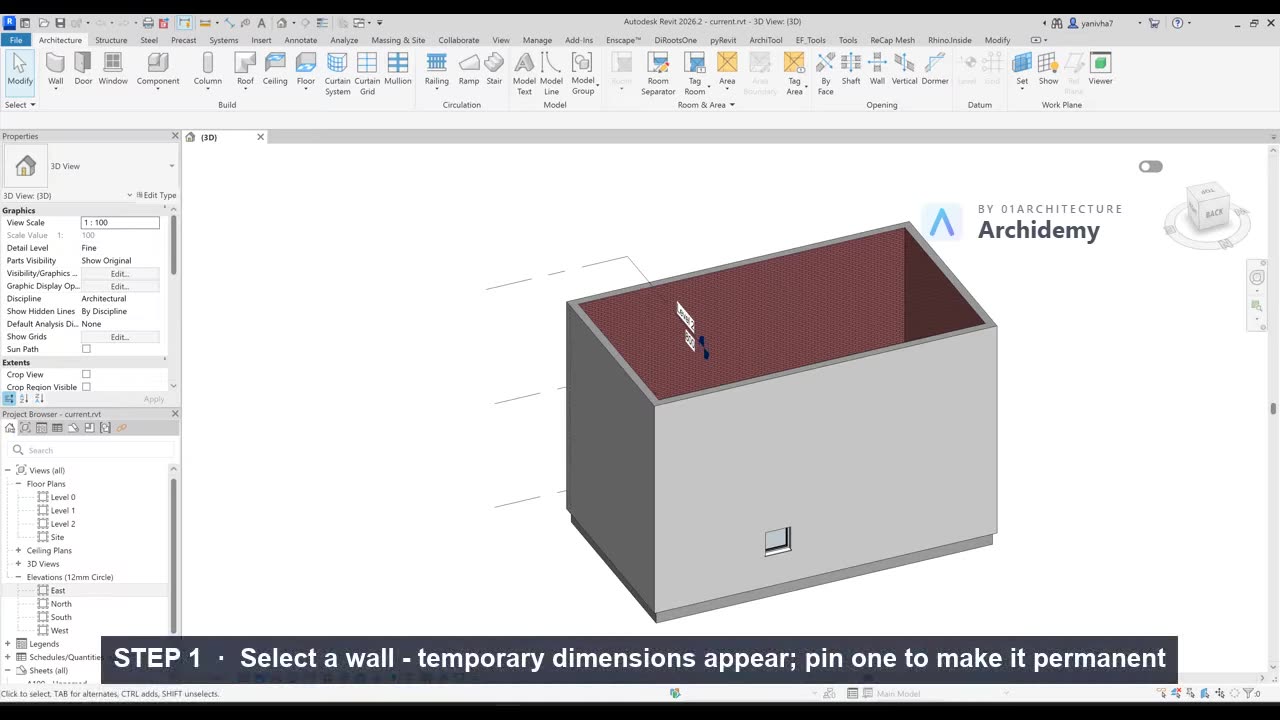
The recorded clip is for signed-in members. The written steps are below.
Sign in to watch- In a floor plan (e.g. Level 0), place a test room:
- Go to Architecture → Wall.
- Draw a simple closed rectangle of walls.
- Select one wall and look for the temporary dimensions that appear in light blue.
- To convert a temporary dimension to permanent:
- Click the small pin icon or blue dimension symbol next to the temporary dimension.
- It becomes a standard dimension element that remains on screen.
- To edit a dimension:
- Click the dimension value.
- Type a new length (e.g.
900cm) and press Enter.
- To change what a dimension is measuring:
- Find the small blue grip (circle) on the dimension extension line.
- Drag it to snap to:
- The centerline of a wall, or
- The face of finish of a wall.
- If Revit only snaps to the centerline, press TAB to cycle through possible snap points until you reach the finish face.
Note: These same principles apply to most Revit elements: select → use temporary dimensions → convert to permanent if you want them to stay and print.
Taught in
- BIM + Computational Workflow · 2023 — original class recording lives there.
Was this lesson helpful?