Workflow LibraryOpenings: Curtain Walls, Doors & Windows
Place Doors and Windows in Walls
Every opening in your plan hosted correctly, swinging the right way, and sitting at the right sill and head height.
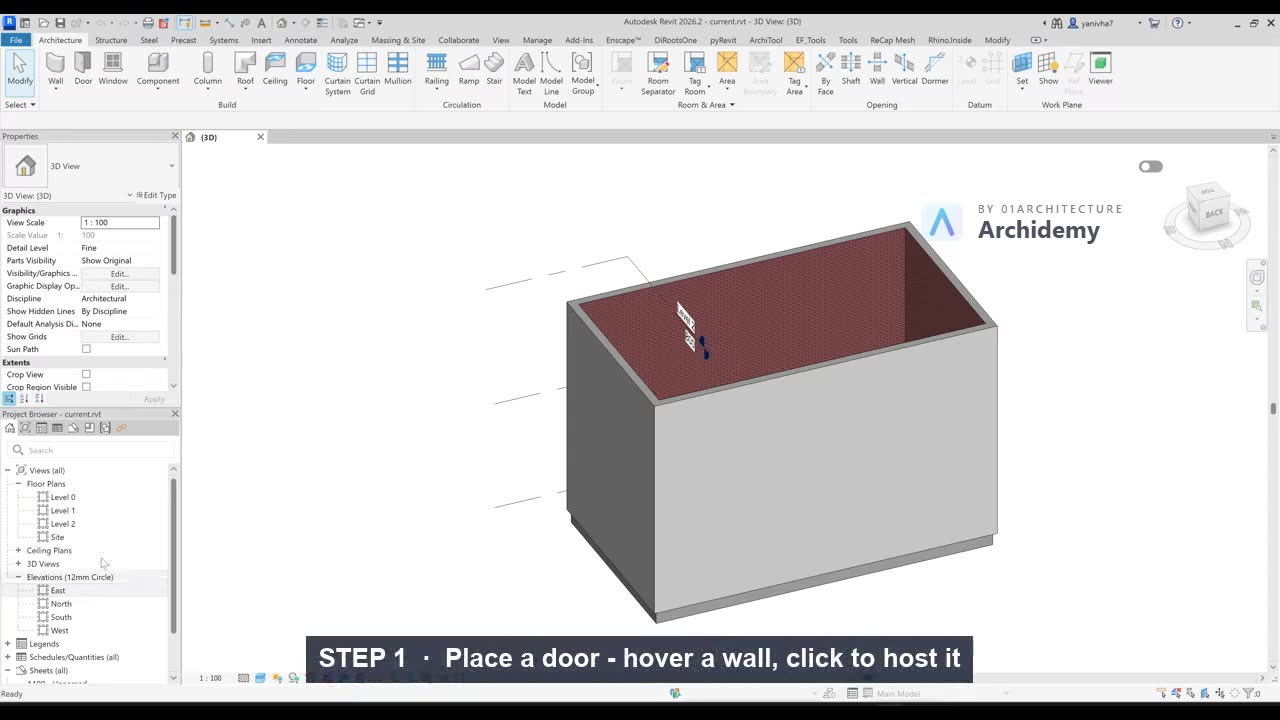
The recorded clip is for signed-in members. The written steps are below.
Sign in to watch- Open the Floor Plan of the storey you are working on (e.g.
Level 0). - Place a door:
- On the Architecture tab, click Door (shortcut DR).
- Pick a door type from the Type Selector at the top of Properties.
- Hover over a wall — doors can only be hosted in walls; the cursor shows a preview.
- Press Spacebar before clicking to flip the swing side (hand).
- Click to place. Move to the inside/outside of the wall line to control which way it opens (facing).
- Fine-tune the position:
- Select the door and edit the temporary dimensions to set an exact distance from a wall end or corner.
- Use the two flip arrows on the selected door to change hand and facing after placement.
- Place a window:
- On the Architecture tab, click Window (shortcut WN).
- Choose a type in the Type Selector, hover over a wall, and click to place.
- In Properties, set Sill Height (e.g.
900 mm); the Head Height updates from sill + window height.
- Copy openings along a wall:
- Select the door or window and use Copy (shortcut CO), with Multiple ticked in the Options Bar.
- Pick a base point and click along the same wall — each copy stays hosted in the wall.
- For evenly spaced repeats, use Array (shortcut AR) with Group and Associate unticked.
- Verify in other views:
- Open a 3D view and an Elevation to confirm sill/head heights read correctly.
- Check that no opening lands on a wall end or overlaps another opening (Revit will warn).
Note: Doors and windows are wall-hosted families — if you later move, rotate, or redraw the host wall, every opening moves with it, which is why you never model openings as separate geometry.
Taught in
- New for 2026 — first taught in BIM + Computational Workflow 2026.
Was this lesson helpful?